> ## Documentation Index
> Fetch the complete documentation index at: https://docs.basic.tech/llms.txt
> Use this file to discover all available pages before exploring further.
# Set up your Basic account
> Using the admin portal to create a new project.
# Create your project
Head to [https://app.basic.tech](https://app.basic.tech) to begin creating your project.
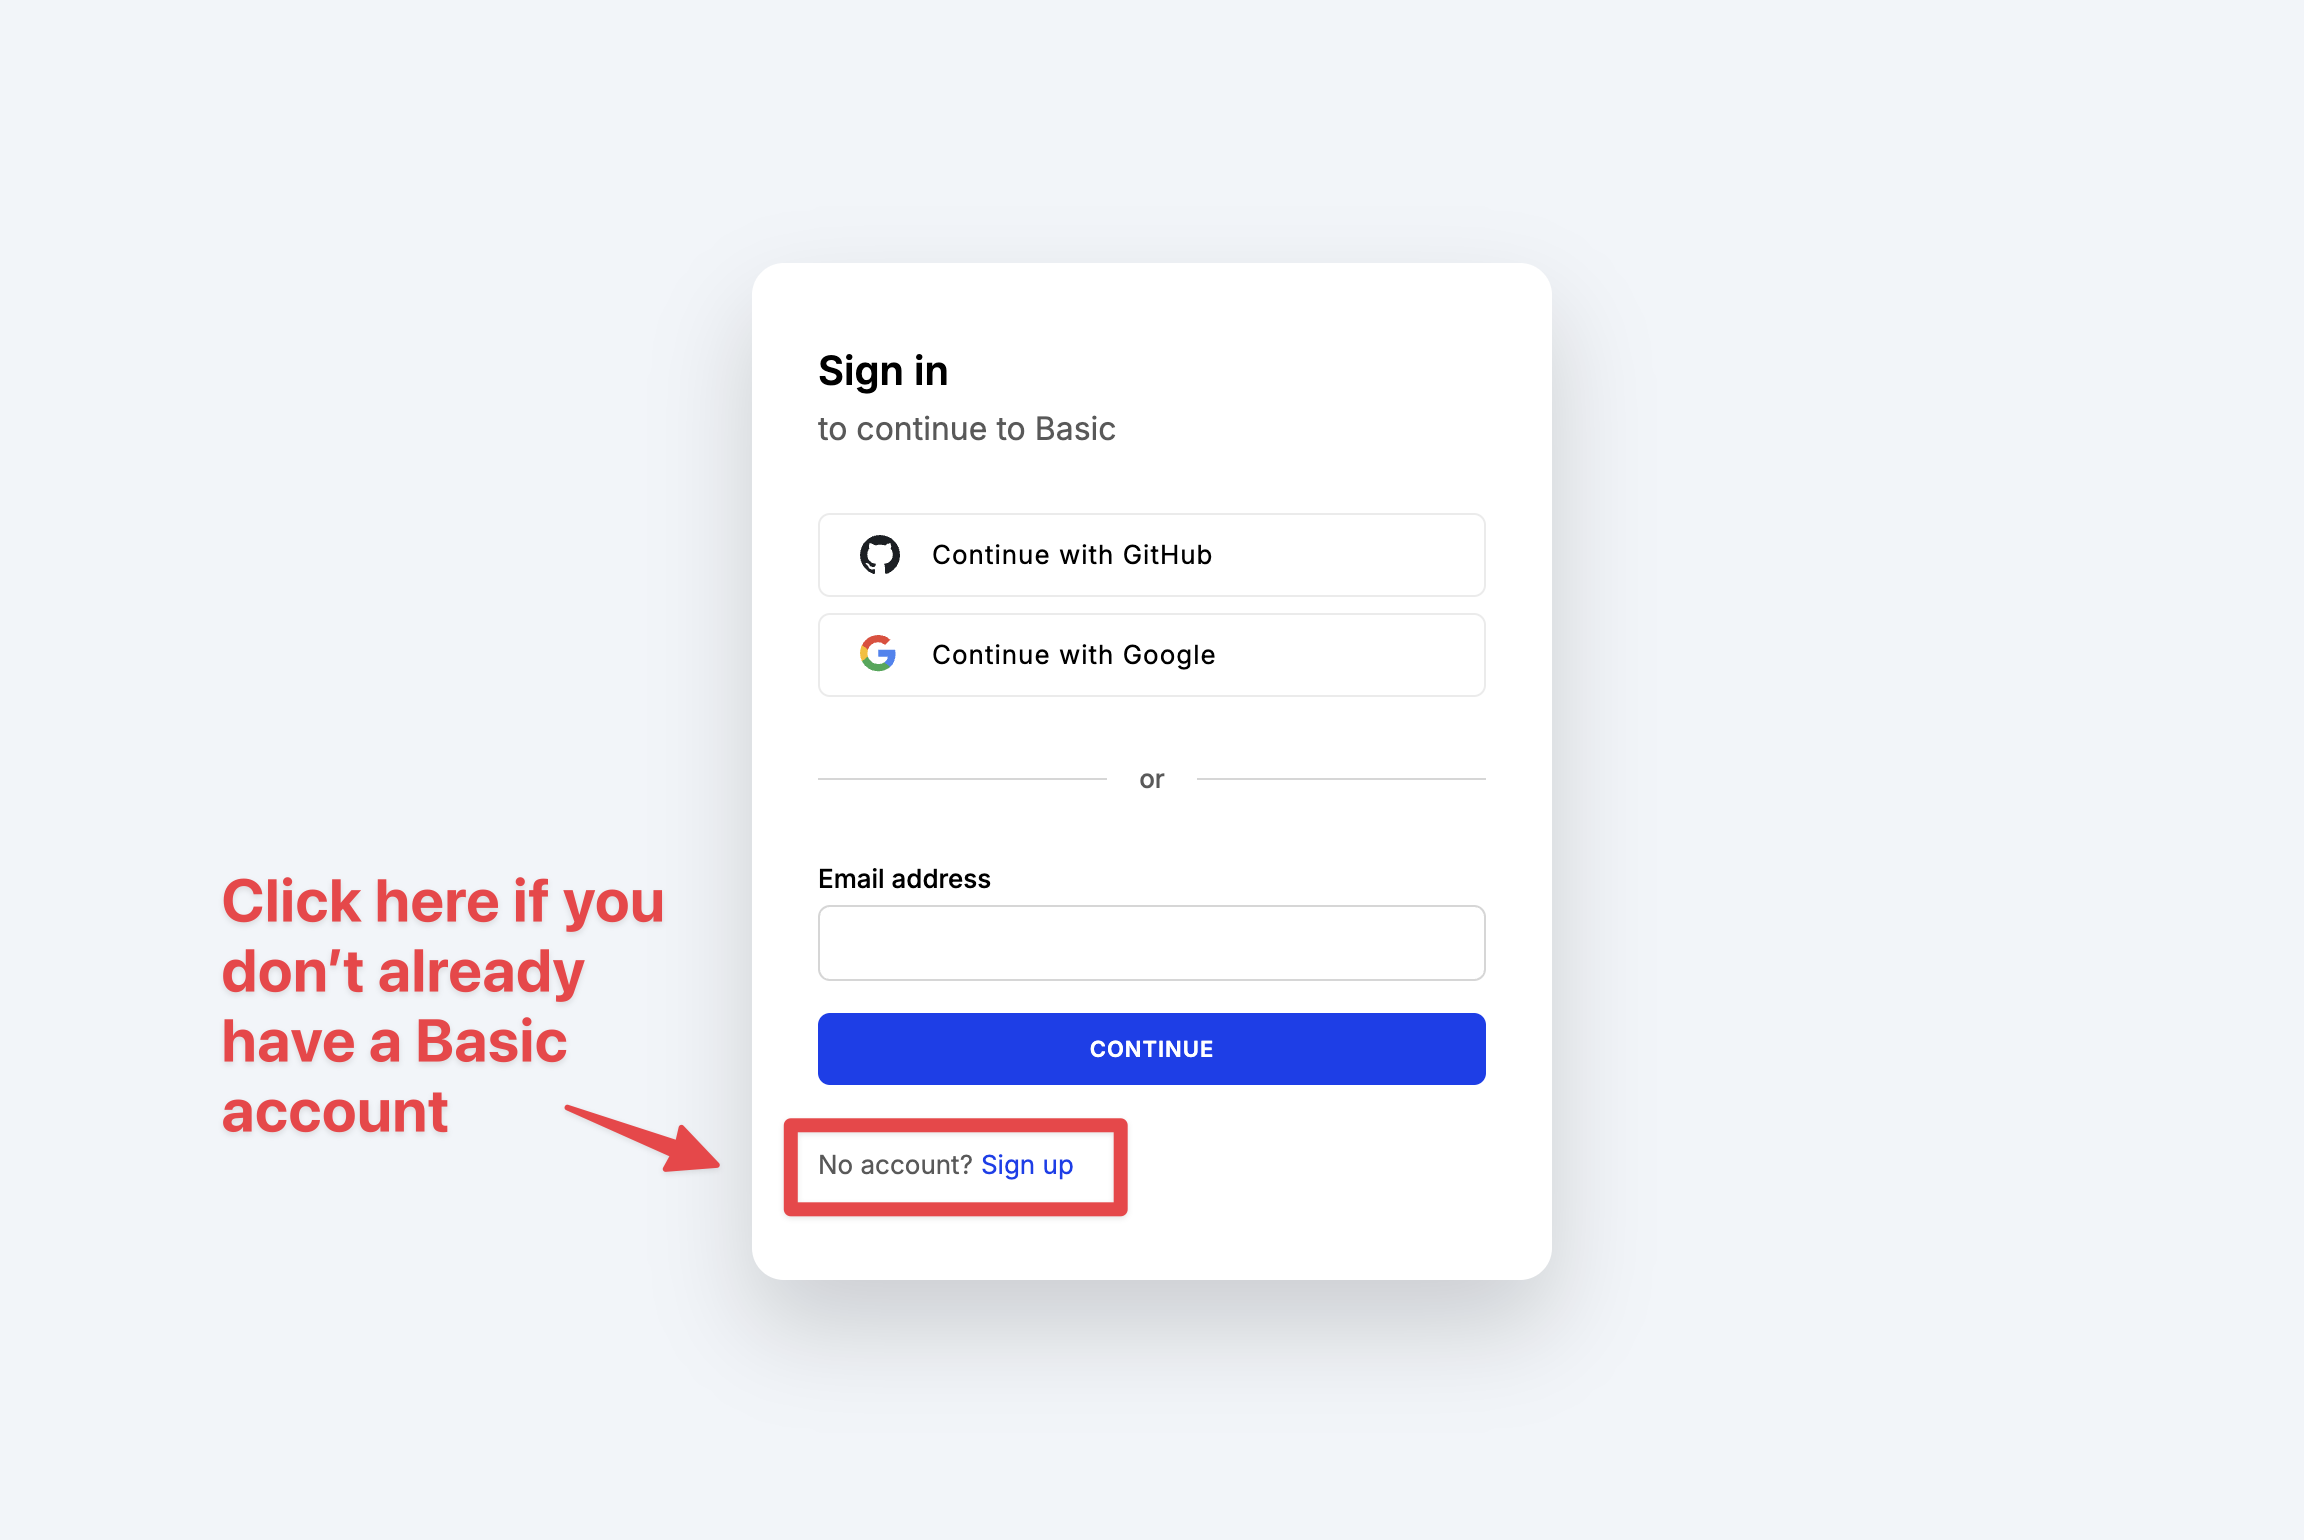
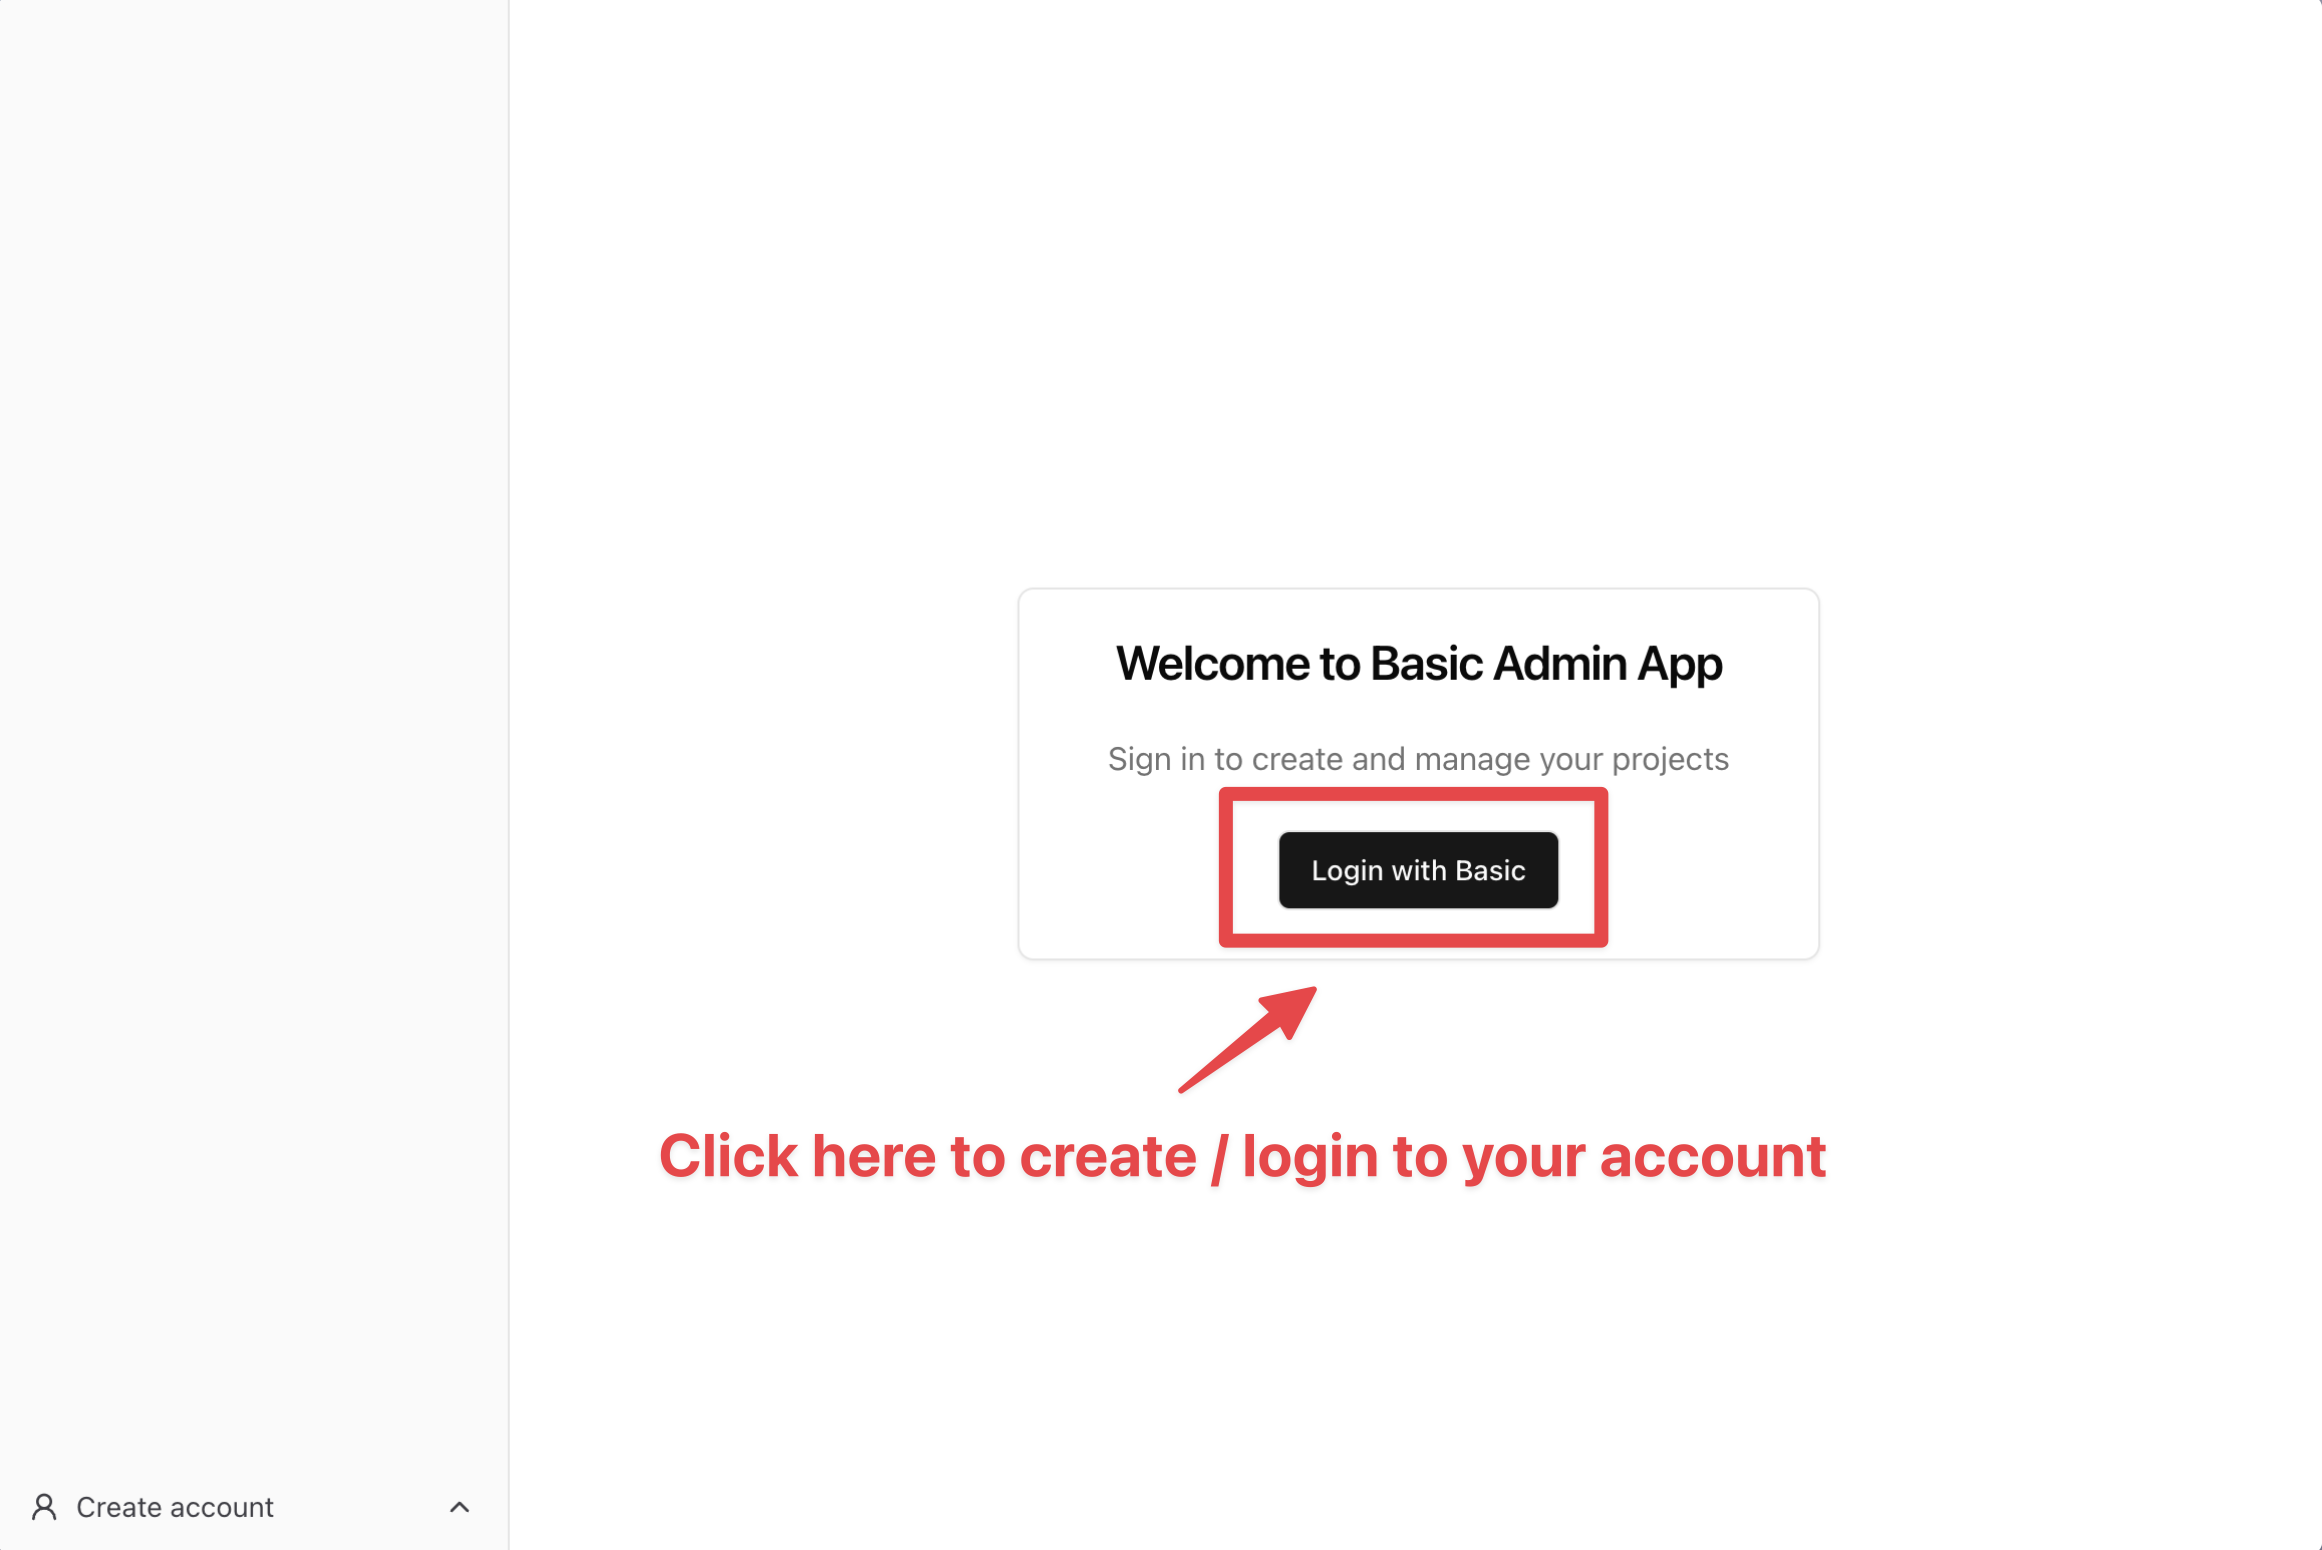 Login with your Basic account. If you don't have one yet, signup to Basic.
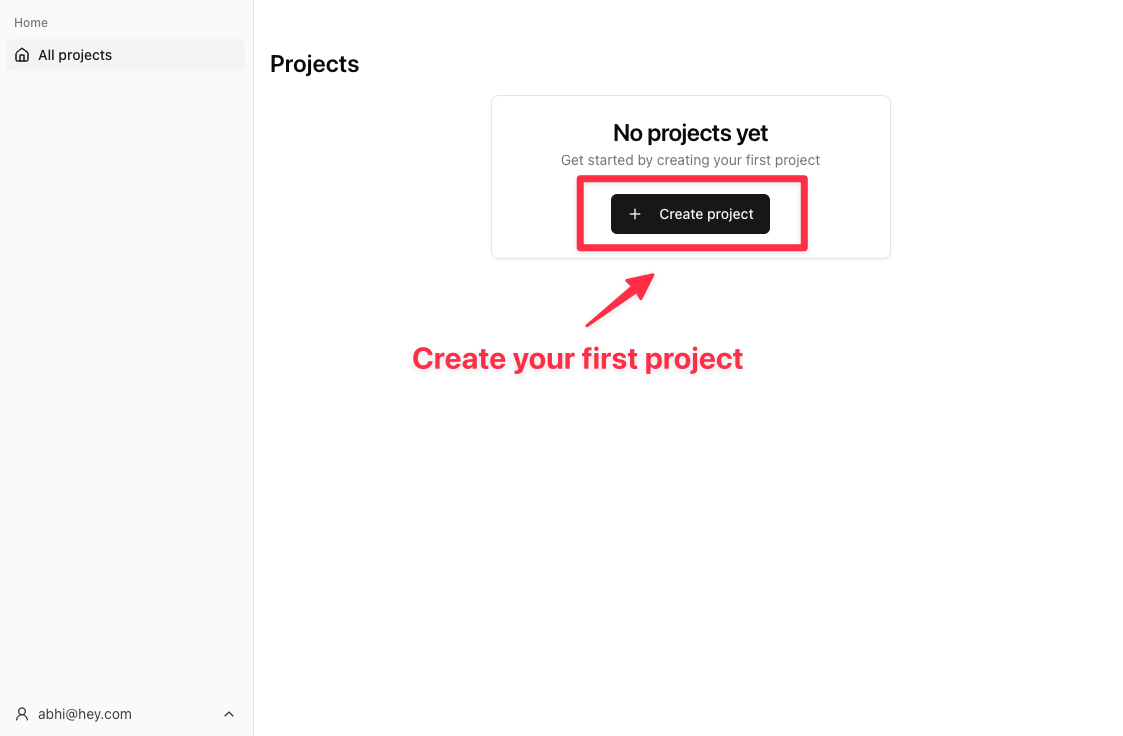
 After creating your Basic account, head to the Dashboard and create a new project.
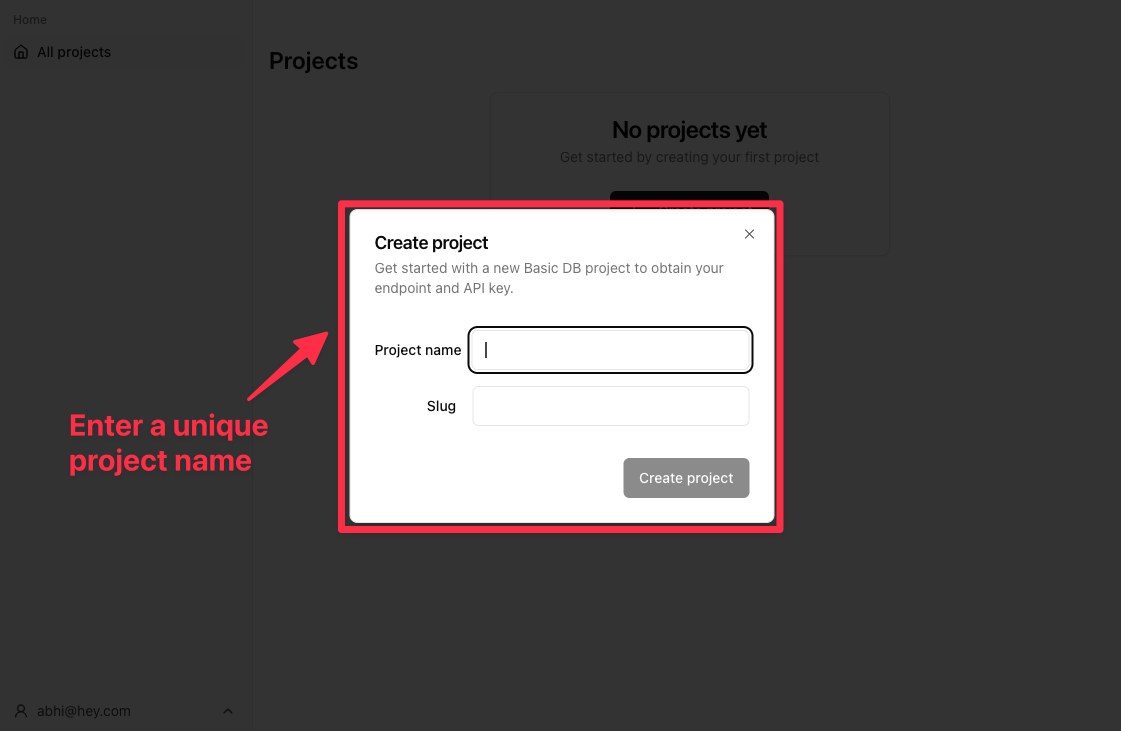
 Use the form to create a project with a unique name and slug. Make sure not to leave the name or slug fields blank.
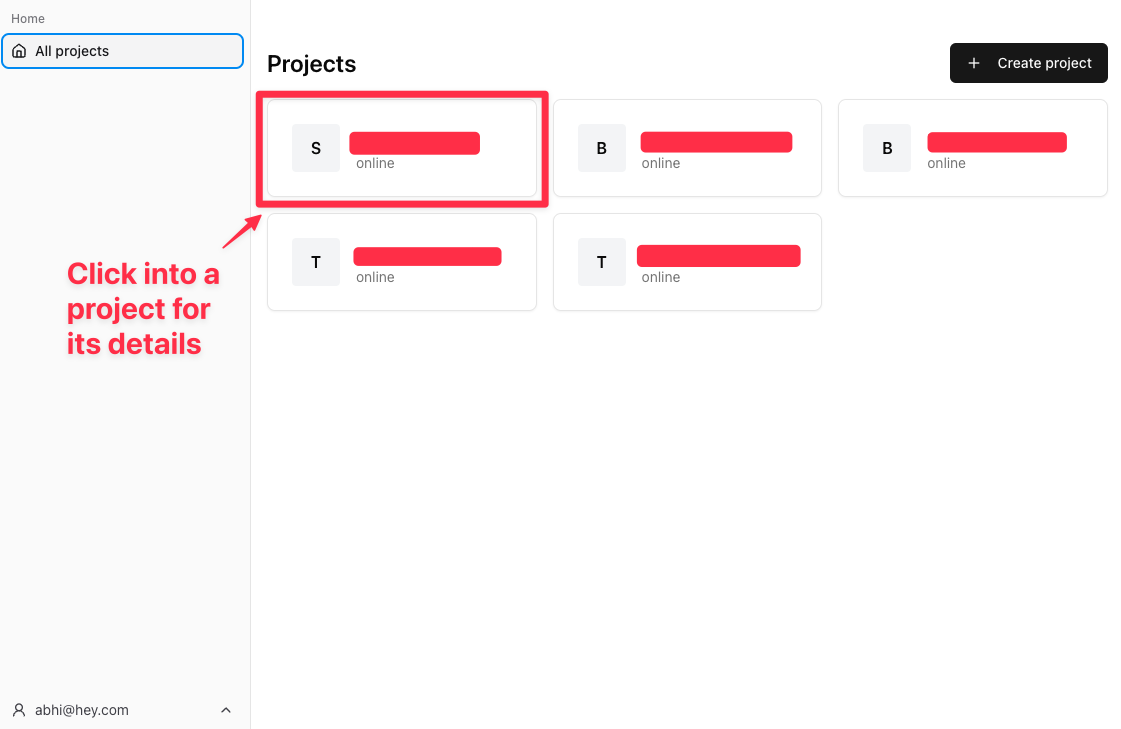
 This page allows you to view all your projects and manage them. To view project details, click into any of them.
 You'll need these if you're using the API to connect to your database. Store them securely.
Keep your API Key a secret! Only use it on a secure server environment.
You'll need these if you're using the API to connect to your database. Store them securely.
Keep your API Key a secret! Only use it on a secure server environment.
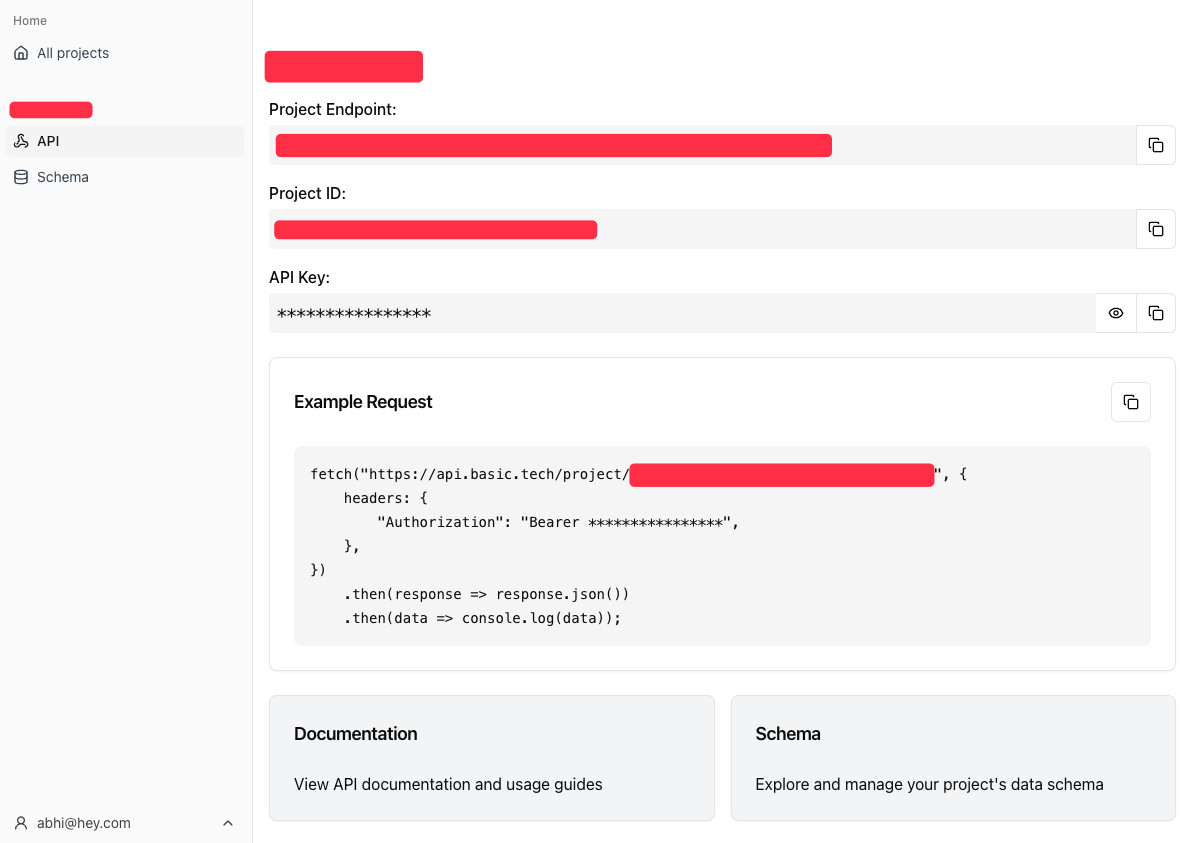 Make sure to replace `` and ``.
```js GET Project Details theme={null}
fetch("https://api.basic.tech/project/", {
headers: {
"Authorization": "Bearer ",
},
}).then(response => response.json())
.then(data => console.log(data));
```
# Create your schema
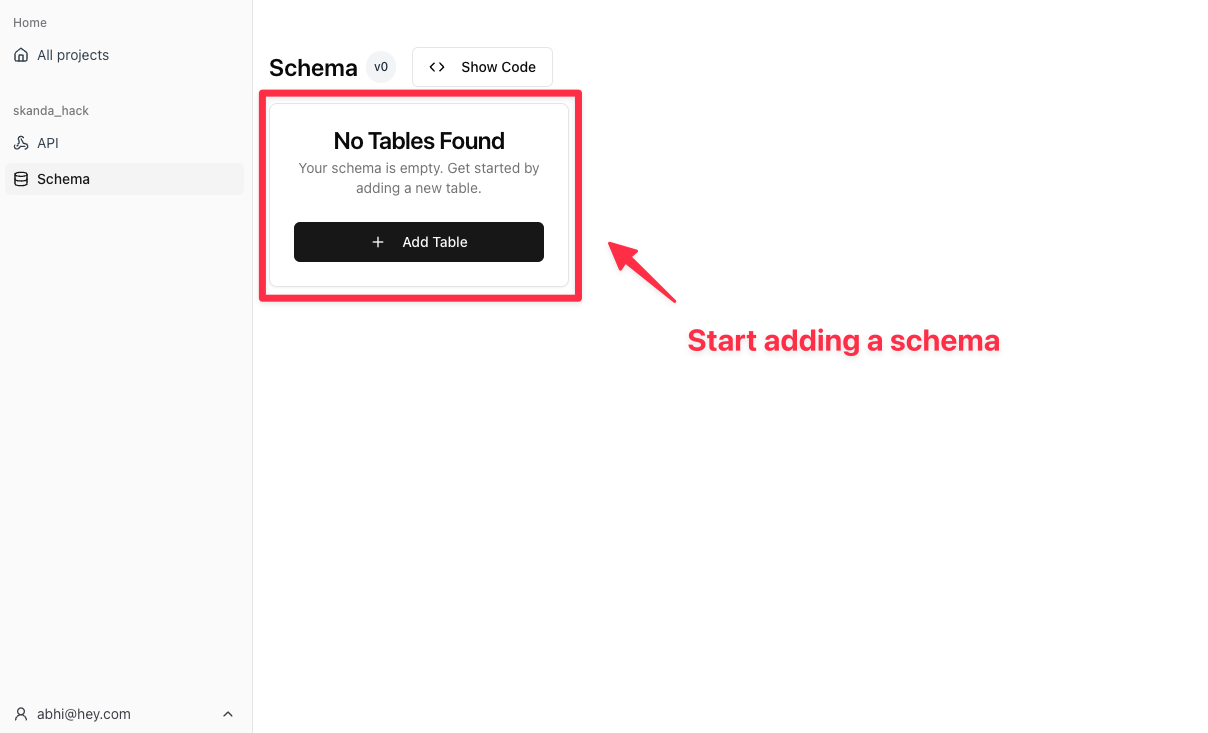
There are two ways to create your schema, either using the table UI, or by using the code editor. Let's explore the table UI first.
Make sure to replace `` and ``.
```js GET Project Details theme={null}
fetch("https://api.basic.tech/project/", {
headers: {
"Authorization": "Bearer ",
},
}).then(response => response.json())
.then(data => console.log(data));
```
# Create your schema
There are two ways to create your schema, either using the table UI, or by using the code editor. Let's explore the table UI first.
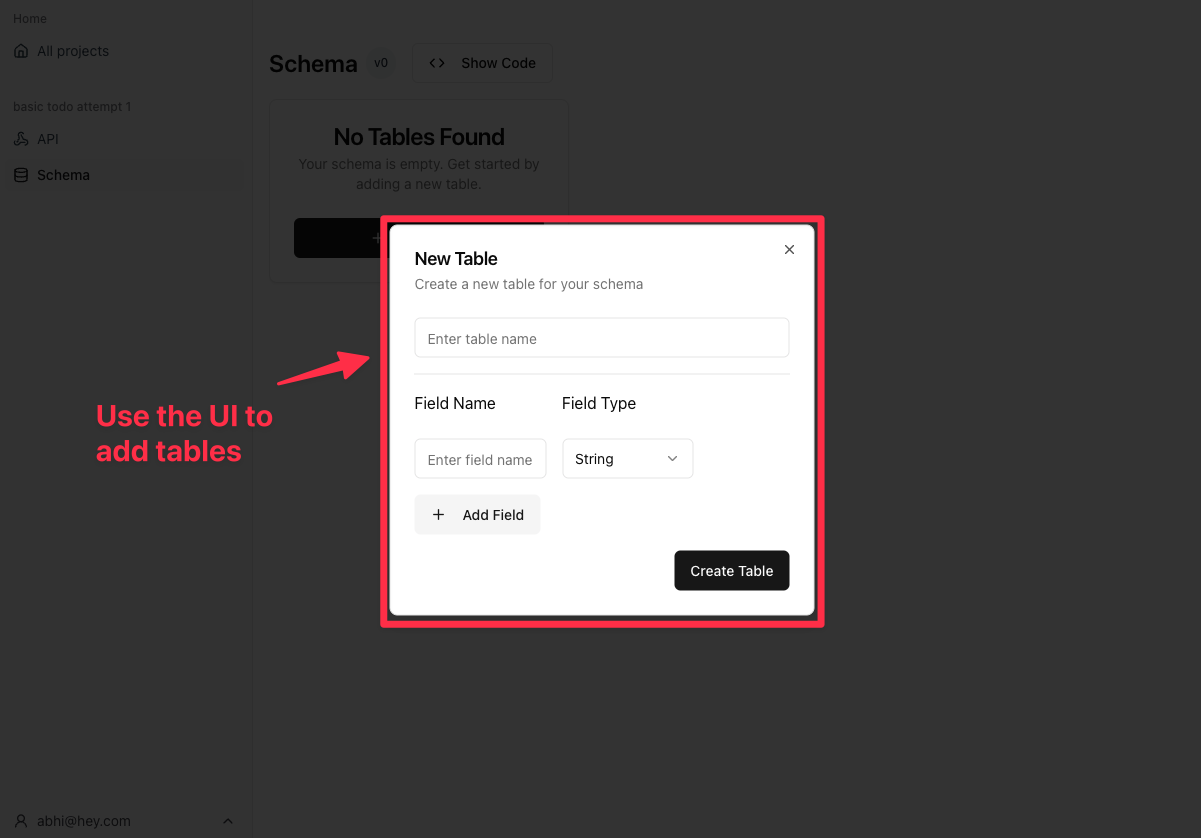
 Give your table a unique name, and add fields to it. Fields need to have a unique name within each table, and you can use the dropdown to select the type of each field.
Fields can take on the following types: `string`, `number`, `boolean`, `json`.
Give your table a unique name, and add fields to it. Fields need to have a unique name within each table, and you can use the dropdown to select the type of each field.
Fields can take on the following types: `string`, `number`, `boolean`, `json`.
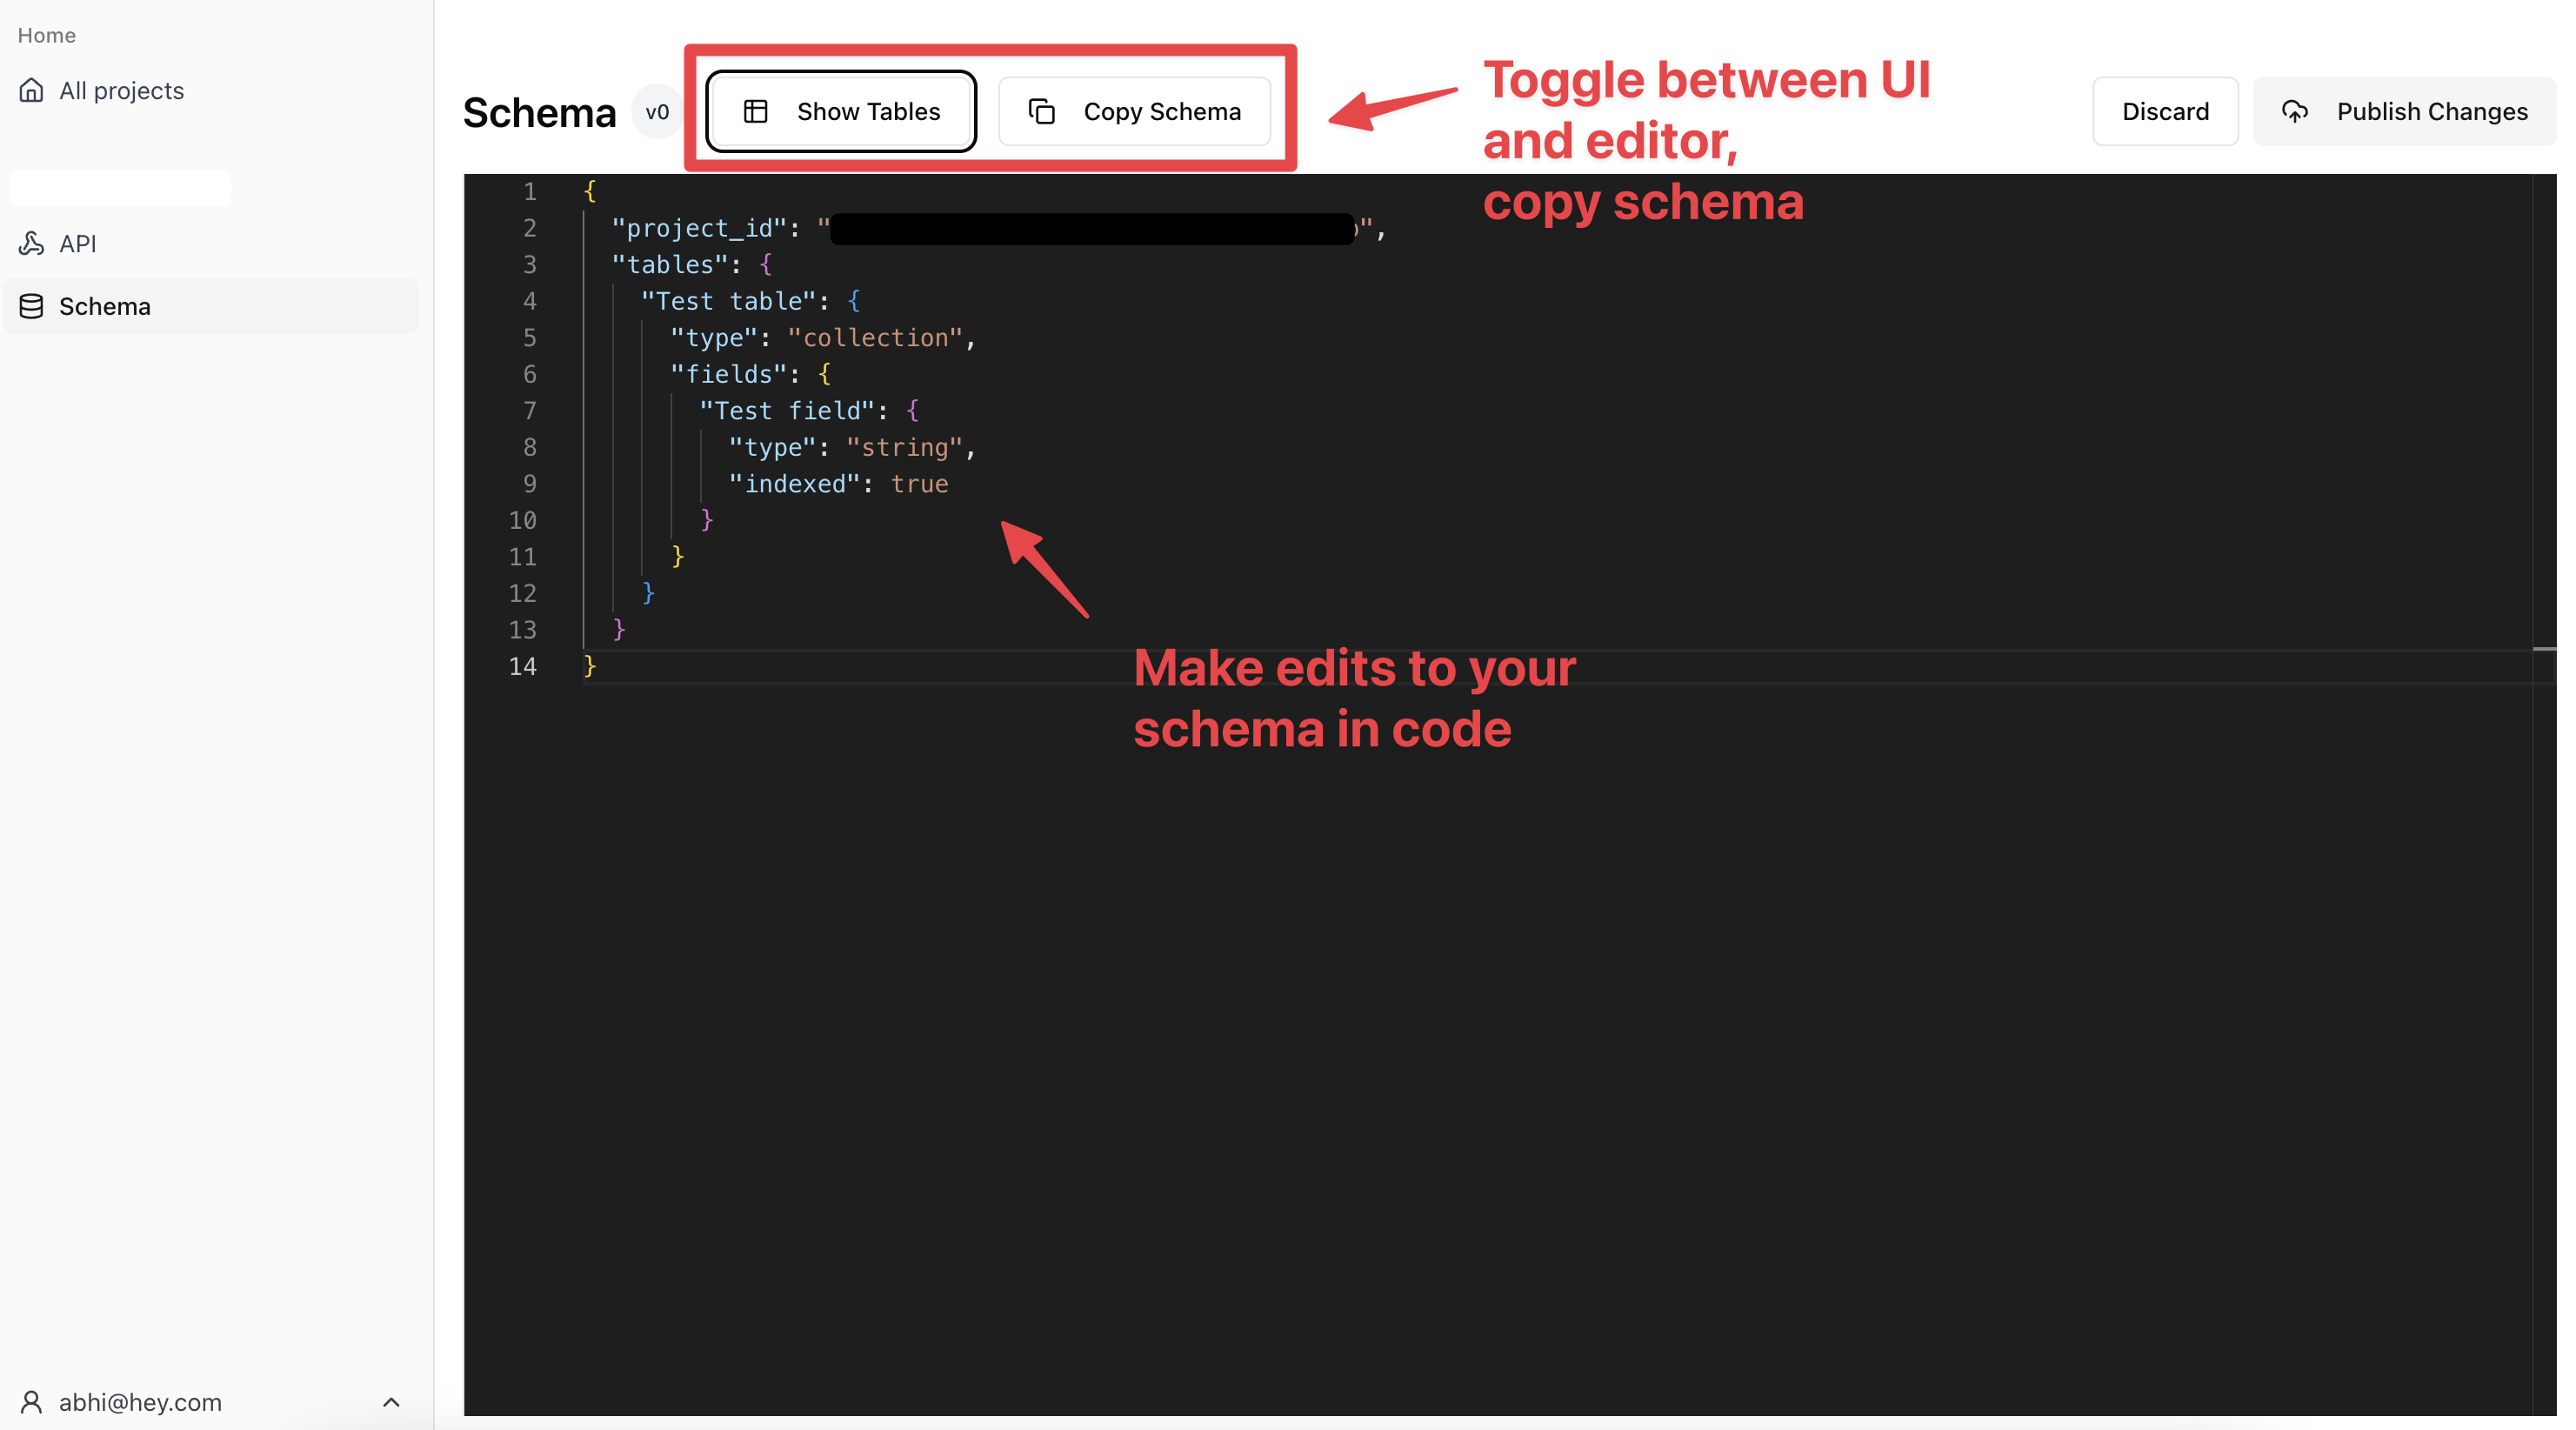
 You can also edit your schema with the code editor.
 Once you've added your tables, you can publish your changes. Upon publishing, you'll notice your version number has been automatically incremented.
You may also discard changes if you'd like to revert to the existing version.
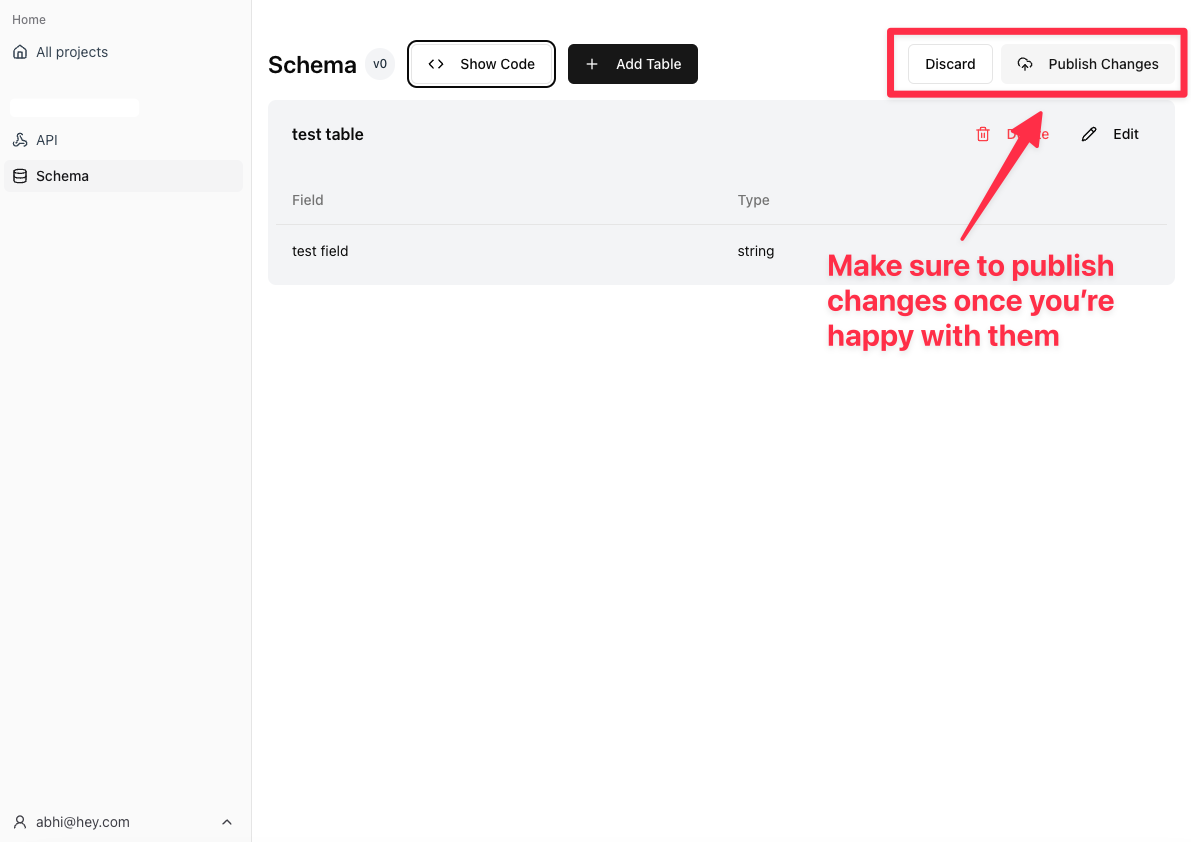
Once you've added your tables, you can publish your changes. Upon publishing, you'll notice your version number has been automatically incremented.
You may also discard changes if you'd like to revert to the existing version.
 # Next steps
You can now start building your app!
If you are using a React app, we recommend you use the [React SDK](/basic-react/basic-react-sdk) to get started.
Otherwise, you can use the [API](/basic-restapi/basic-api) for any language.
# Next steps
You can now start building your app!
If you are using a React app, we recommend you use the [React SDK](/basic-react/basic-react-sdk) to get started.
Otherwise, you can use the [API](/basic-restapi/basic-api) for any language.